A Cast of Monkeys
Rounding out my tutorial chronicling the completion of these molds, below is a synopsis of simian proportions.
Casting, assembling and finishing in brief detail.
Castings
Casting the parts begins with the selection of materials, calculations for volume, measuring, mixing and of course, pouring it into the mold. Smooth Cast resin was my choice for this product. Coupled with the silicone mold, the level of detail is fantastic.
Molding will always leave behind seams and pour spouts like visible here.
This is where the work begins.
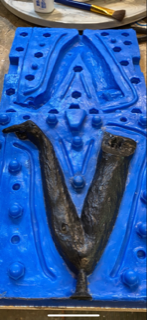

sanding and filling
The sheer amount of sanding and filling that was needed to make a truly convincing finished product was sort of staggering, quite honestly. Like any other project, it’s all in the preparation. Grinding, filling and smoothing in order to blend the “fur” texture of this piece took a lot of patience.
From 150 grit all the way down to 2000 grit wet sanding, these parts were demanding, however worth all the effort for the final finish.
Powder your mold
Over the years my friends at Smooth-On have given me some brilliant insight and advice. One such nugget was concerning residual mold release on castings needing to be painted.
Baby Powder. Thats right… use baby powder as release agent in your silicone molds. this will stop any potential fisheyes or adhesion problems between the casting and final paint finish

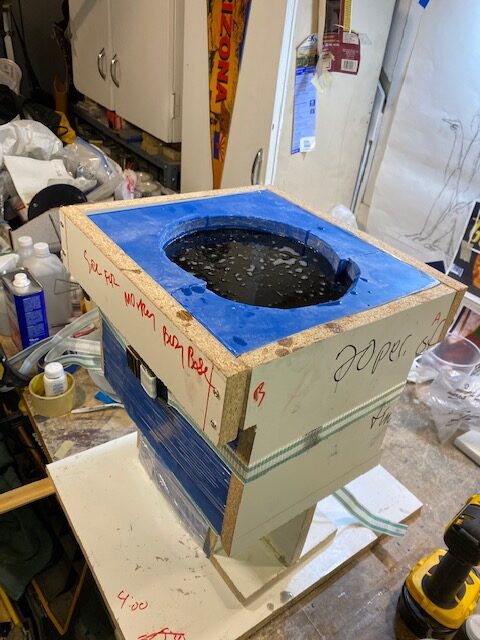
a body of work
Properly reassembled, the main body mold is strapped and the resin poured into the cavity.
Due to the size of this cast, I had to use a slower curing material.
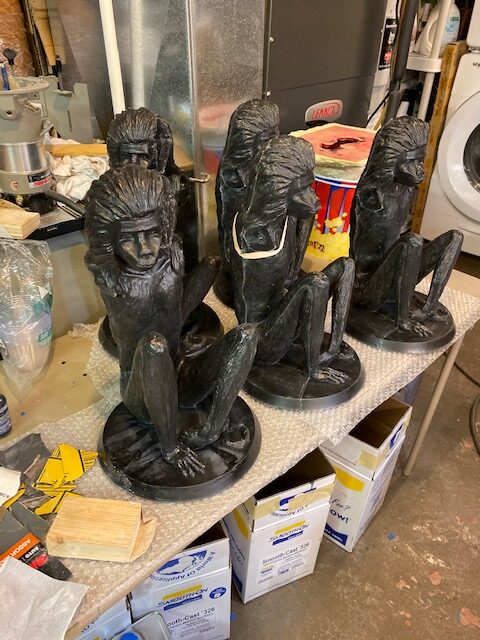
a cast of monkeys
Removed from the mold and cleaned up, this cacophony of chimps await hours of careful finish work.
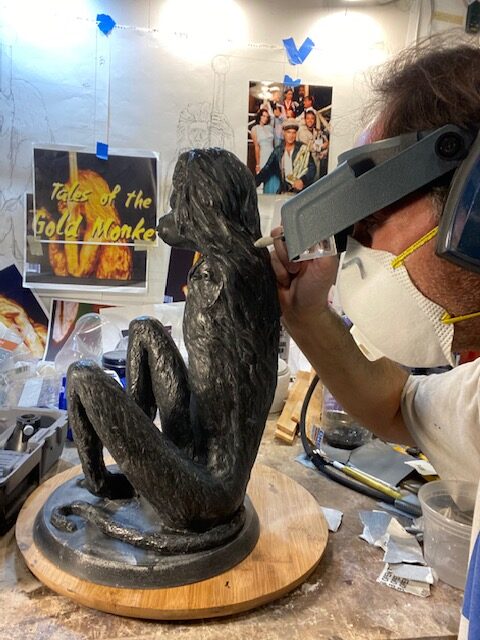
back to the grind
Donning magnifying lenses, I cautiously grind away the seams left behind by the molding process with a micro tool .
Joining the parts
Each segment had to be individually adjusted and fit, often taking hours each. Once all the parts fit perfectly they are joined with a fast setting epoxy and put aside overnight to cure.
The following day the seams were filled with a different type of epoxy. This time I used an epoxy designed to smooth with water allowing perfect blending of the joints.
Primed and READY
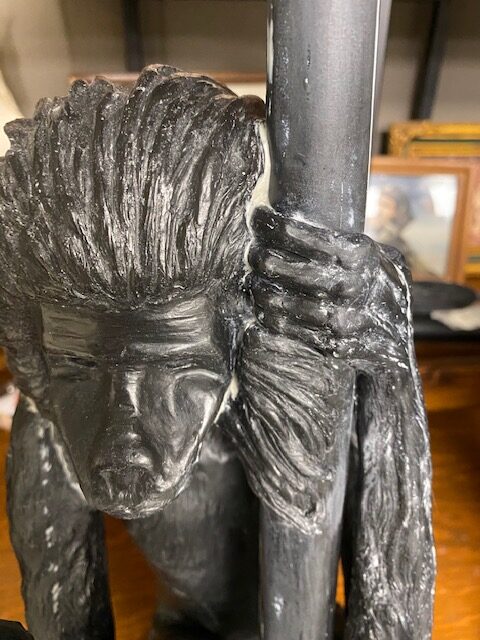
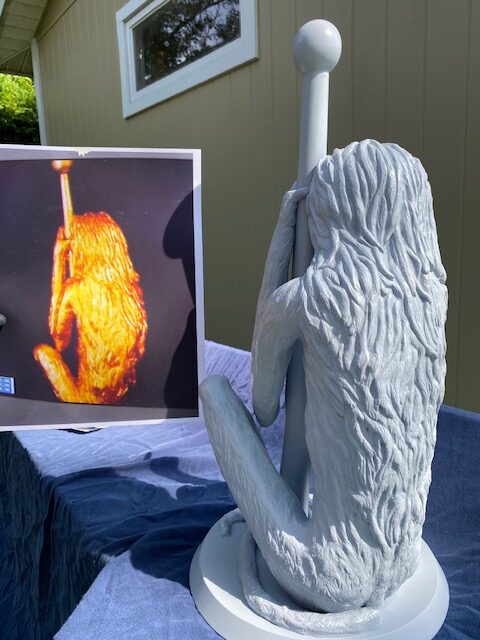
After weeks of casting, assembly and finish preparation, the primer is applied. Multiple coats are applied with wet sanding between each one. Now, all the effort can finally be seen in the details such as the layers of hair on this monkey’s mane.
This is when I became excited for the gold finish work.
nearing the finish
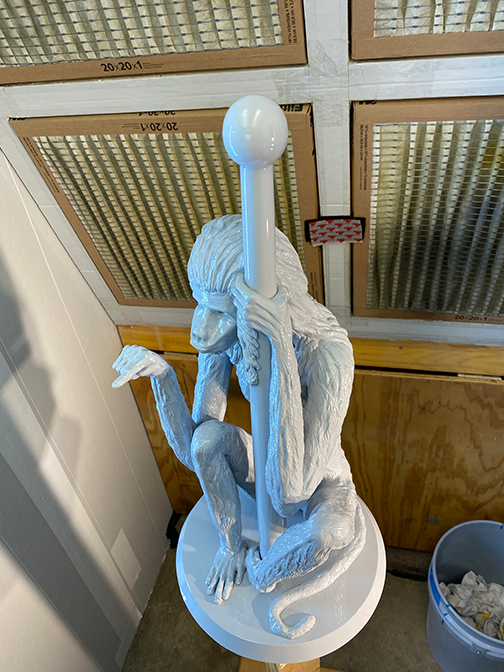
Nothing is more exciting than seeing months of hard work get to the final stages . Much experimentation went into the decision for the gold finish. Ultimately, a 7- step process involving automotive clear, toners and chrome coats led to the beautiful gold that brings the tale of this Gold Monkey to life.
Final touches
To really bring the realism into the final sculpture, I use a three color patina matching the original props.
Sitting in the shallows, the aging brings out all the carefully sculpted details.
Below are some photos of the finished Idols
See more detailed photos in the portfolio section of this site.


